At this time I had the fuel lines positioned all the way up to the engine. I needed the engine dropped in to make sure I have the line ending at the right spot. This is where the adventure begins.
Before the engine goes in it needs to be "refreshed". The thing was in the mustang for over 10 years so it's not looking shiny enough for me. Moreover, the engine has to go through a series of small modifications to make it work in the new home.
The engine has spend the longest time on the stand now. It has collected some dust and needed a basic clean up job. I did not go overboard with this and gave up after a quick
Simple Green MAX degreasing. It was good enough for me at this time. The next part was to get collectors off. They will be turned 180* to face forward to work with the side pipes. These things are not pretty by any means but apparently (and a bit sadly for me) are well designed and don't impede the flow. So no
headers for me. I did, however, spend time to gasket match the ports on them.
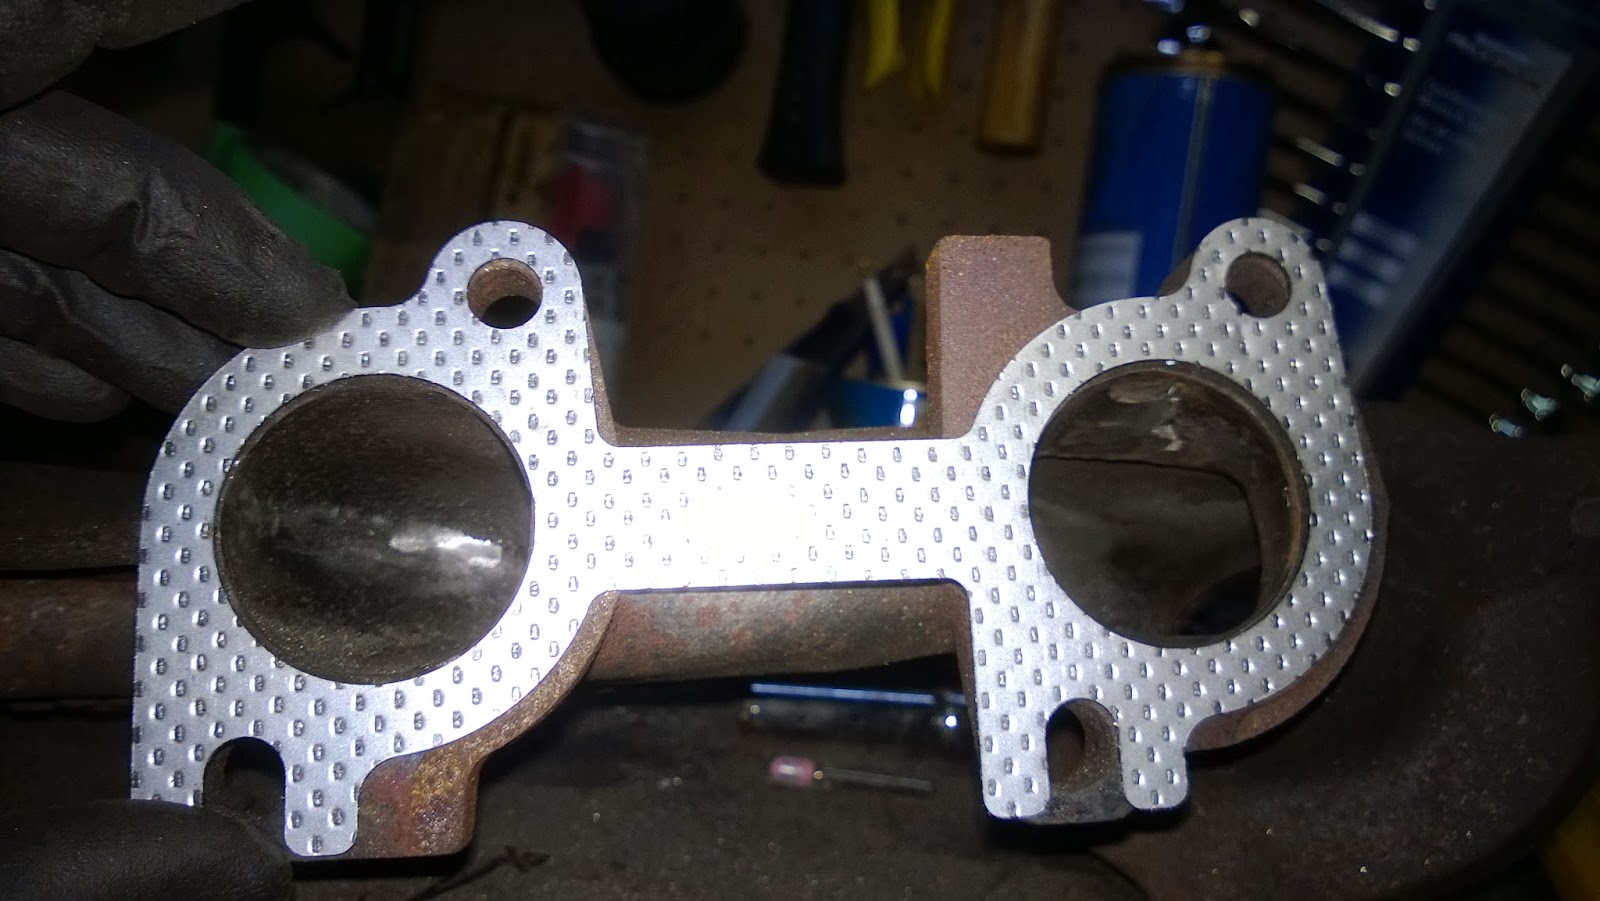
I also ensure that the inside is polished too. The casting left the surface full of mini bumps. It took me way too much time and effort to level it out and bore out the ports. It is cast iron after all. The things went significantly faster on the other side of the gasket. The heads are aluminum and are much softer. Here are some pictures of before. If you look close enough you'll notice that the gasket is about 1-2 mm larger than the port.
Here it's more obvious with the carbon deposit marks. See what happens when the gasket does not fully seal the exhaust system? The left port here exposes the blow by the gasket visible by the black deposits.
And now the "after"
Now that collectors needed some make over too
and now comes some
header paint from VHT
While at it, the cats get the same treatment.
Ah, the things I do for my wife. These stupid things have a brick inside that chocks the exhaust system and robs me of the valuable horse power. But I have to make sure my loved one is not deafened by the roar of the V8. On the plus side, she cannot complain anymore that my cars are not environmentally friendly gas guzzlers. Maybe one day the turbos will replace these pesky catalytic converters. However, till that day comes they will be pretty.
Since I am on the painting spree, the engine block got a coat of
VHT metallic paint
The trick is to use aluminum foil for masking. It's way easier than any kind of masking tape and paper. Here's the result.
It's not in your face colour popping paint job but I like it. While the engine mounts where off the block they too got sprayed.
I will take a break here and continue in a next post. The next little mods are a bit involved and deserve individual posts.