
This is a battery relocation kit from FFMetal.
Let's look at the problem first. The shape of the rear of car and the fact that the gas tank is in the rear contribute to a very small space left over for the trunk. The roll bar loops that you see behind the seats also have one support bar that extends diagonally and into the frame. Insistently, that is too cutting into the trunk space. To take the matters to the next level, the original location of the battery is in the trunk. By now you are probably thinking that the trunk is a busy area. Well, Factory Five did not stop on that yet. In my version of the kit the floor of the trunk is not curved around the fuel tank. What that means is that I get even less space. However, I do want to buy a soft top for this car and be able to store it in the trunk when it's not required. Therefore, the trunk space is a highly sought after commodity. Hence the battery relocation kit you see above.
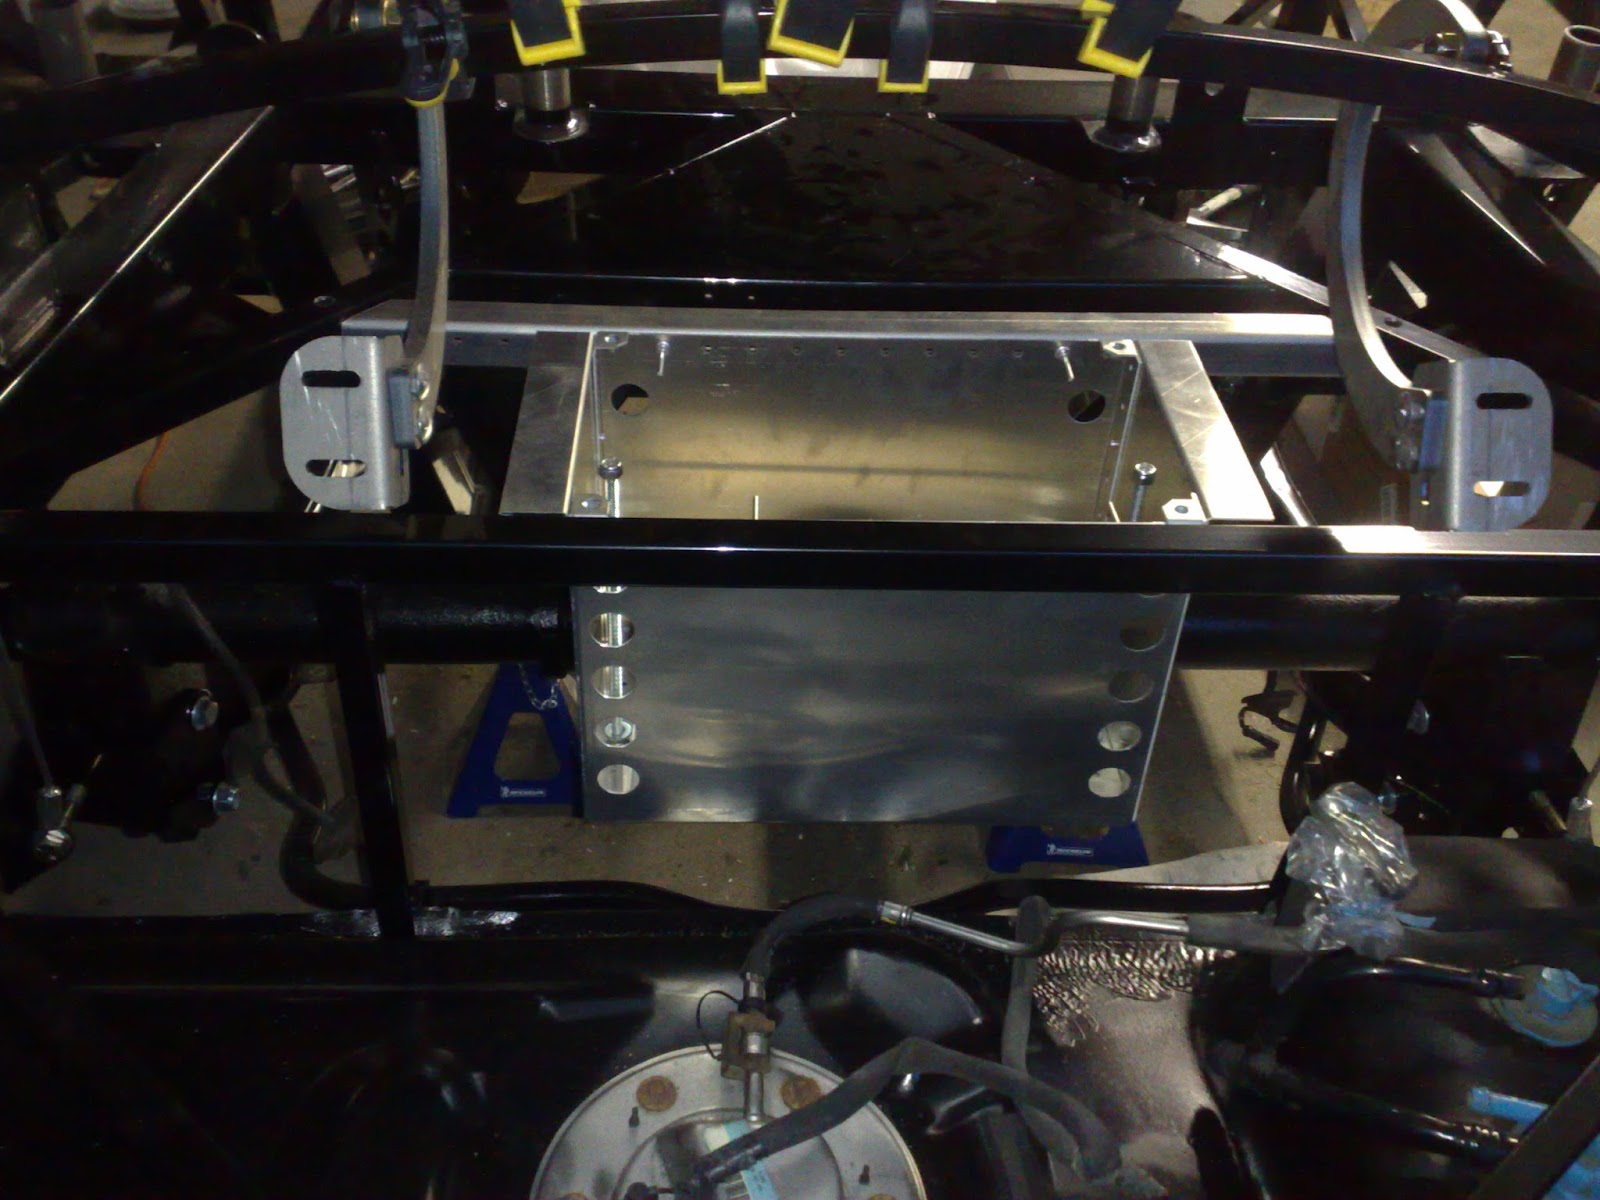
The idea behind the kit is to move the battery out of the trunk and under the floor. There's actually just enough space between the gas tank and the live axle. Here's how that kit would fit:

There is a small detail here to pay attention too. The battery box must be away from the supports that carry gas tank. In the event of rear end collision the gas tank will swing inwards and should not be restricted. Notice that the box is designed to be just deep enough to hover on top of the gas tank in such event. Frankly, I am very impressed with Linwood's thoughtfulness and workmanship at FFMetal. I did have to trim the support bar slightly to make it fit, however. It was just a minor adjustment.
So with the box mocked up, I drilled all the holes for rivets on the chassis. I also installed the remaining rivets on the box its-self. There were only a few installed out of the packaging to make it keep its shape. Here's the final spot check before it hits the paint
All is looking good so we are off to spray it. This box is made of bear aluminum. Aluminium will oxidize overtime and form a protective layer on the surface. However, that weakens the metal. So I chose to coat my aluminium with Rocker Guard.

And now here's how it looks installed to the chassis.


You'll notice that the cut out is actually bigger then the inside of the box. The idea was to let the lid sit flat with the floor. There is enough material on the box' sides and square tubing to allow for the rivets to be shifted outwards. Here's the how it looks with the lid on.

Great! The only new minor setback is that the battery I've got from Mustang does not fit into that box. :( I'd have to buy a new one that fits. I also need to put master disconnect switch and battery terminal relocation kit on to complete the setup. The battery is much less accessible in such location and would require those extras to make life easier and safer. All in all: mission accomplished!
You post this update at 5:50AM? You'r nuts! Good to see some updates though.
ReplyDeleteI figured that's the only time when I am not in the mood for getting grease on my hands. ;)
Delete